by definition gil.ly.flow.er n. 1. any of several old world plants cultivated for their brightly colored flowers. 2. Eurasian plant with pink to purple spice scented usually doubled flowers; widely cultivated in many varieties and many colors.

Monday, January 31, 2011

all you need is a cape


This is something I made for the little two last spring when their old capes weren't "working" any longer.
I did offer one to the big one, but it seems as though he is too old to wear a cape.

I used the same gold thrifted fabric for both and added a
flower sheet for hers
and a dark manly sheet for his.
She wanted her letter
and he wanted a lightning bolt.

They are reversible and both super heroes seem to use both sides equally.
I eyeballed the basic shape of the capes and made them up as I went.
I used velcro for the closure, although I have seen magnets used which I think is a safer choice.
They were very simple and quick to make and they are still well used to this day
sans the wind as we are still buried deep in snow.

more on that...

Here is another way to use your yard sticks,
I needed an easy fix to break up the wall.
I had the yard sticks, a little stain,
and of course more command adhesive strips (because nothing here is permanent.)

measure me

Here is a fun (free) way to make a growth chart.
The kids are always stopping to measure themselves.
Thanks to grandpa I inherited a couple of yard sticks...
We again used the command adhesive strips to secure the yard sticks to the moulding.
We put up a few number stickers to measure growth by the foot, too easy!
Now it's time to watch them grow!  

Friday, January 28, 2011

what every crayon dreams to be...

We like bold strong lines around here,
whether that means soaking our chalk in buckets of water in the summer
or putting our rocks in the oven before we draw on them with crayons...

I have long been trying to think of a use for my old electric frying pan...

With the heat set on the lowest possible setting,
place your paper in the pan for a second to warm up.
This is where the fun begins.
Regular old crayons turn into bold dramatic tools that melt and mix together.

The kids seemed to prefer using the edge of the crayon to cover more area.
They also enjoyed making use of the crayons we had melted into circles in the muffin tin previously.
The photo doesn't do it justice, but they look like stained glass with the light shining through.

Thursday, January 27, 2011

wiggle cups

This is a really entertaining way to make wrapping paper.

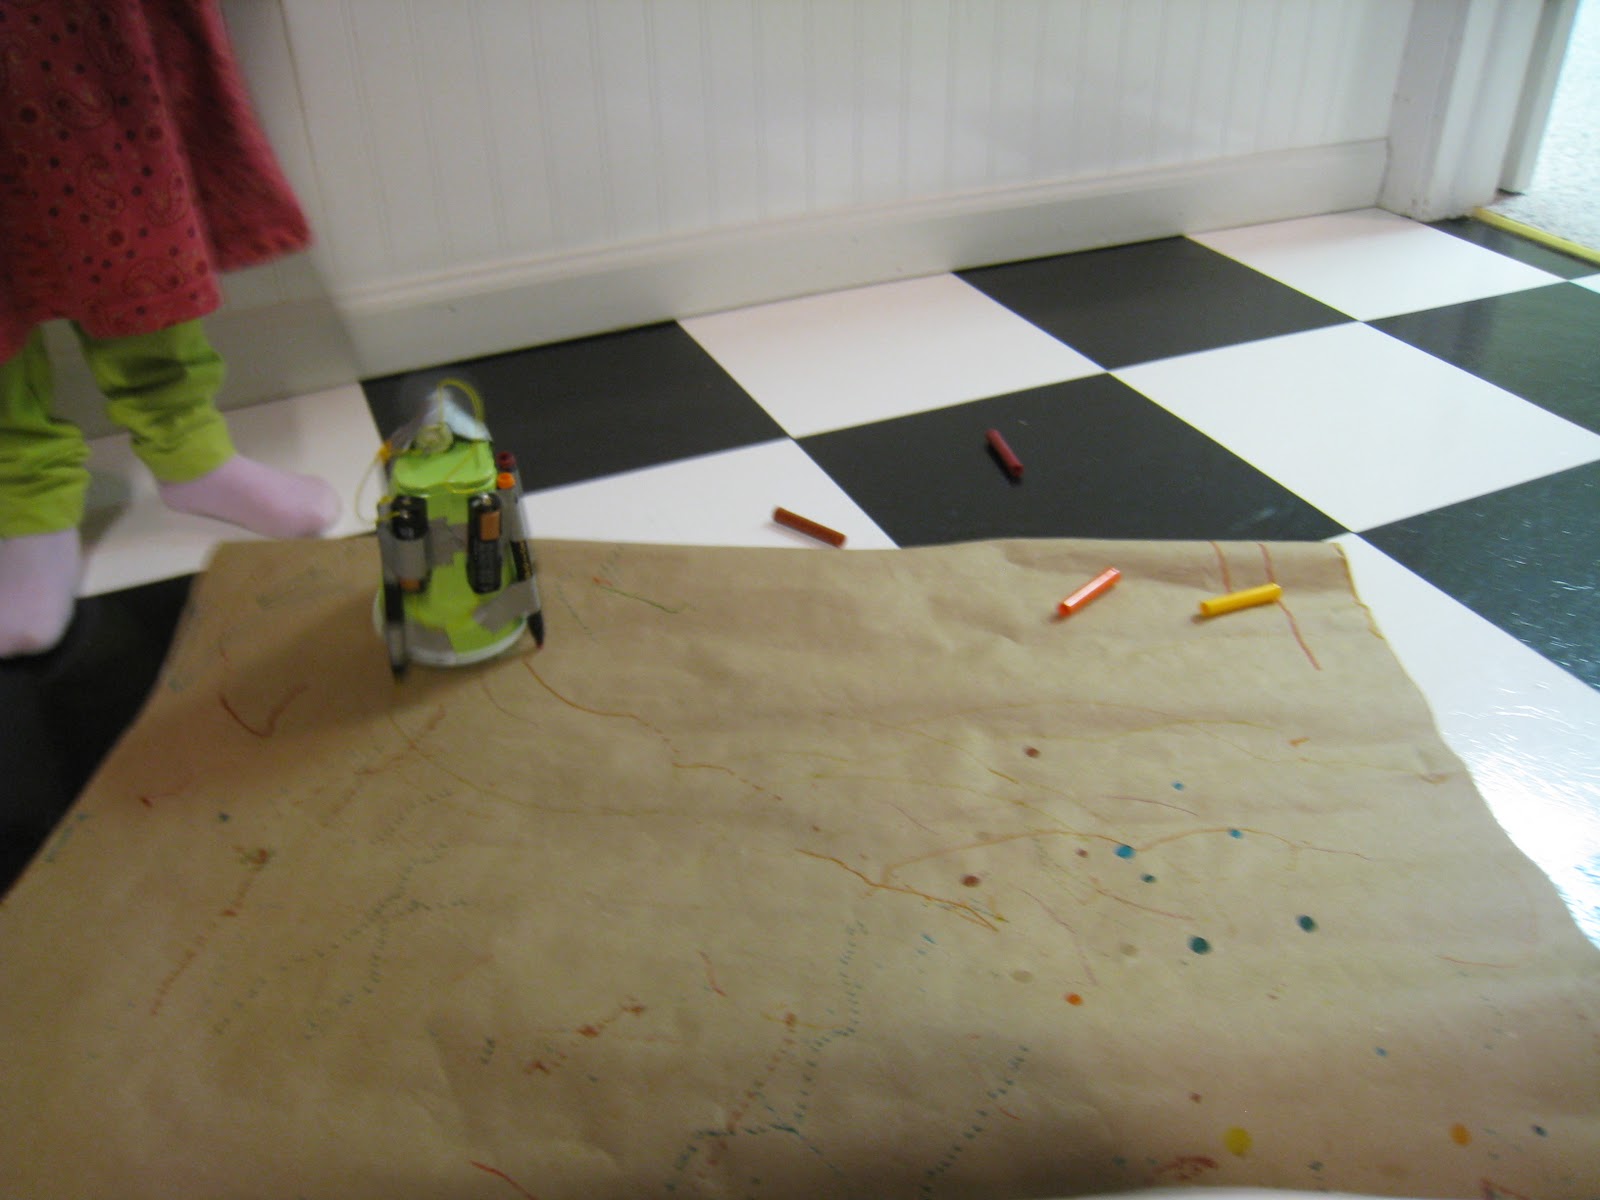
The kids first made these "wiggle cups" at the science museum,
but they are really simple to make at home.
They require two AA's and the battery pack(s),
an old motor with a section of unused hot glue stuck on the end to make the motor unbalanced,
four markers taped to the sides of the cup.
Tape all of your parts into their proper places,
connect the power to the motor,
and watch them wiggle all over!


You can tape a large piece of paper to a table and let the bots run wild.
We have also used smaller paper inside of cardboard boxes to keep them from running off of the paper.
It is a big hit at kids parties as well.


If you don't have large enough paper to wrap with, try cutting open a brown paper bag and using that.
We also make use of the kids old artwork/drawings in this same way(especially the bigger papers)
It makes for a really fun and colorful gift!

Sunday, January 23, 2011

large and in charge library bag

I had a request made by my big to bag his current library bag and upgrade to a bigger one.


We found a suitable sweatshirt...


Cut out the perfect size...
Also finding two unworn belts in the boys' closets to use as straps.


As you can probably guess, we improvise a lot around here.
There is little use for a professional pattern.
It is much more exciting to take it as it comes and to reinvent your projects as they develop.

After pinning and sewing the sides and bottom closed,
we pinned the handles on and folded the top edge down to form the top seam.
We then cut the thick "cuff" off of the edge of the hood of the sweatshirt
to reinforce the top of the bag (near the handles) with. 


He is now ready to go check out an obscene amount of books:)
Another idea to keep library cards handy and right where they need to be
is to get the self laminating luggage tags (very cheap) and hang it right on everyones bag.


Here is the little lady's library bag that I made previously.


I lined the inside of hers because not only does it look more finished, but it helps to sturdy up weaker fabrics.
I chose not to line the orange bag because it seemed to hold its shape and was very thick on its own.

Saturday, January 22, 2011

Oh where oh where has my little dog gone?


She adores this shirt, but it has been much loved and doesn't fit well anymore.
We decide to save the dog and sew him onto a new shirt.


 I keep some of the old shirt around the edge of the dog to make it more interesting.
I pinned him on, and quickly used the machine to make his new home more permanent.

Instead of letting the rest of the shirt go to waste,
we decide that her American Girl doll could use some new jammie pants.

Taking a pair of her existing pants, we lay them folded in half on each sleeve.

Cut around the pants, allowing enough extra for the seam.


Pin together inside out and stitch all the way around from front to back.
Fold over the top and sew closed, leaving a section open to add elastic.
She looks much more comfortable now. 
We'll see what else we can make with the extra scraps later.


While we're at it, we bunched up some extra tulle,
and added an old belt around the waist to make her a fancy tu-tu.
With the extra piece of belt and extra elastic, she now has a matching headband.

We are the collectors of many things at our house.
Acorns happen to be one of those things.
Many times the acorns loose their tops and the lego guys end up with new hats.
Today the hot glue gun was busy making many projects out of popsicle sticks and the like.
My middle man made a tiny owl out of his acorn with no top.


It was difficult to get a good picture.

Wednesday, January 19, 2011


Here's another version, this time for my middle man:)
This is another thrifted metal tray that's been riding around in the car with little robot magnets all over it for entirely too long.  We stuck it to the wall using 3M removable poster strips.  The magnets are made from old puzzle pieces. 
 

using a tray for display


You can easily find these metal vintage trays for less than a dollar at any thrift store.  My daughter didn't have anywhere to hang her "special projects."  We hammered two holes at the top of the tray with a big nail, added a ribbon to hang it, borrowed a few magnets from the fridge and she was set!


*Remember to save your fabric/satin ribbons from gifts as well as some shopping bag handles, you can always use ribbon somewhere. 

Sunday, January 16, 2011

meet red

While on the subject of robots, here is "red."
He was made for my other son out of an old sheet and part of a fleece blanket...

robotee

My oldest drew this picture when he was in preschool. 
He loved robots then , and still does.
While he was sleeping that night I decided to make his picture into a robot stuffy that he could actually cuddle with.  I found an old soft t-shirt of my husbands and cut out the simple shape of his drawing.  A bit of stuffing and some very basic stitching made his drawing come to life and "robotee" still has a special place on his bed.  He has been loved and washed and washed and loved and I hope he keeps him for a long long time:)

"robotee"

Thursday, January 13, 2011

something shady

It all begins as I am driving to school.
I spot a lonely light fixture just waiting to be rescued from the curb. 
It was baby blue and surprisingly heavy. 
 I had to have it. 
I got it home, gave it a fresh coat of paint and set my husband to the task of hanging it in the dining room. 
It sat for many months minus shades because my old fixture had only five. 


One night I knew that had to change, but only if I could use things from around the house to dress it up. 
I found six little shades, all different shapes, but oh well. 
I ripped them down to their frames and decided to raid my fabric and closet to do the rest.   


It was fast and painless. 
I cut the fabric.
Two of the the cuffs of sweaters, three of the parts of an old patterned shirt, and one made of burlap. 
I didn't want to spend too much time on them because who knows how long it will be before I start over. 
I used hot glue around the top and bottom of each shade to form a clean edge. 


This would also be a fun project to do as a family. 
Have each person in your family create their own shade by choosing their own fabric and personalizing it for a really charming chandelier. 

Tuesday, January 11, 2011

battle won


Today we meet in the mudroom.
 I use that term loosely because my mudroom is more of a narrow hallway that looses even more square footage each winter with snow pants and boots crowding the space.  I'm sure you are now very curious as to why I am discussing this silly little room?  Last summer I broke the light fixture chasing down a bug...  don't ask.  I knew I couldn't run out and buy a new one, so I improvised.  I have to say that I almost like it better than what was there before.  I like the way the light leaking out the top makes the ceiling glow.  Don't you just love it when a bunch of broken glass and a brutal battle with a tiny little bug turns into something great?  


I just happened to have this very large lampshade sitting unused downstairs. 


A few strategically placed zip-ties later and we were all better.